
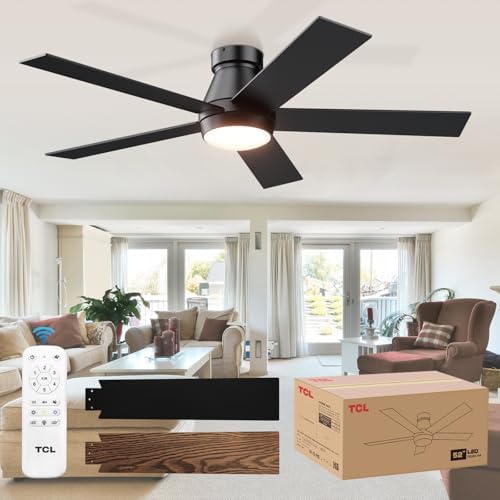
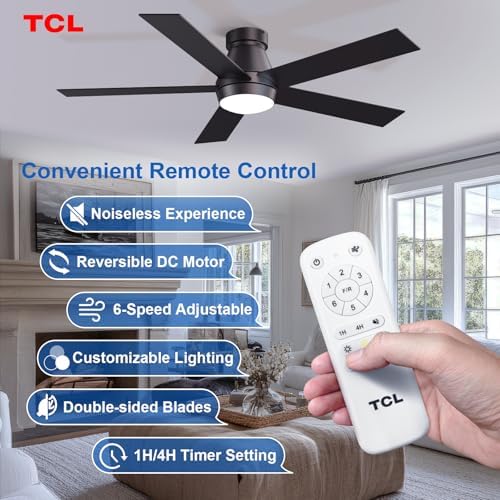

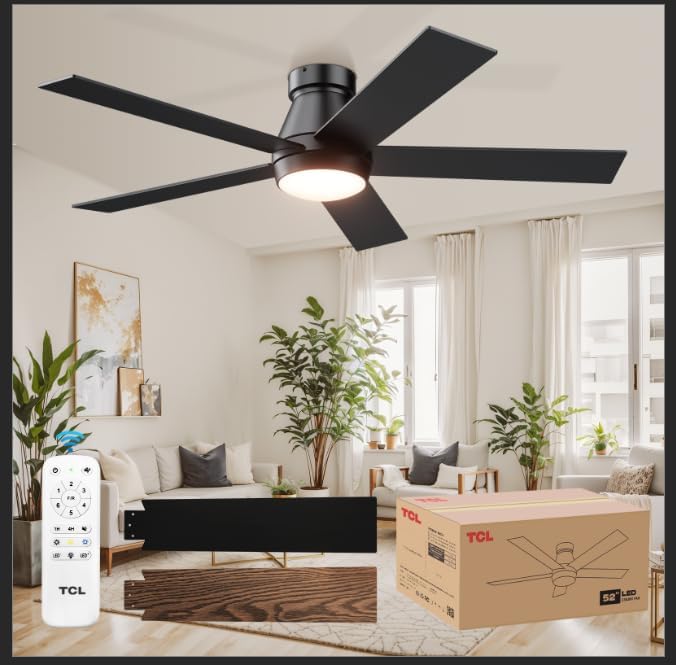
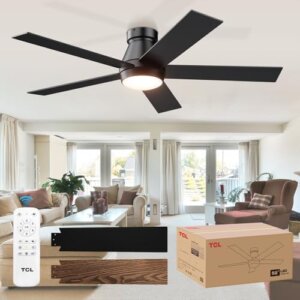
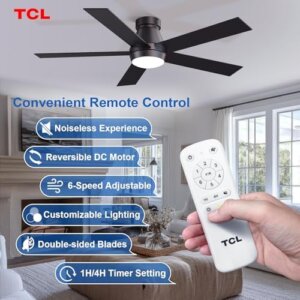
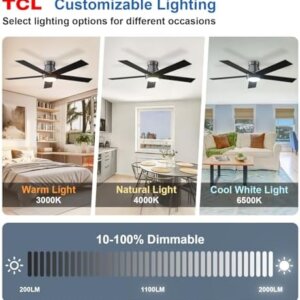
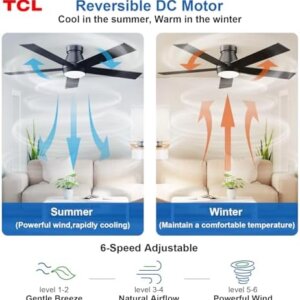


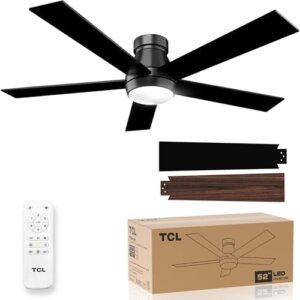
How to install a ceiling fan with a remote control, TCL 52″ Ceiling Fan with Lights

How to Install a Ceiling Fan: A Step-by-Step U.S. Guide
Installing a ceiling fan is one of the most popular home upgrades in the U.S.—it helps cool rooms in summer, circulates warm air in winter, and can meaningfully cut utility bills. With the right tools, a few safety precautions, and some patience, many homeowners can install one themselves in a few hours. This guide walks through the full process, from prepping the space to wiring the fan and testing it.
Tools and Materials You’ll Need
- Ladder (tall enough that you can stand two to three rungs from the top)
- Voltage tester / circuit tester
- Screwdriver set
- Cordless drill with a long bit
- Wire cutters/strippers
- Adjustable (crescent) wrench
- Pliers
- Wire nuts and electrical tape
- Dust mask, safety glasses, and work gloves
- The ceiling fan kit, including the mounting bracket, downrod (if needed), and light kit if applicable
- A fan-rated electrical/junction box (if your current box isn’t rated for fan weight)
Step 1: Turn Off the Power
Before touching any wiring, shut off power to the room at the circuit breaker panel—never rely on a wall switch alone to protect you from shock. Place a piece of tape over the breaker so no one accidentally flips it back on while you’re working. Use a voltage tester on the existing wires to confirm there’s no live current before proceeding.
Step 2: Remove the Old Fixture (If Replacing One)
If you’re swapping out an existing light fixture, remove any glass shades or globes first to reduce weight. Unscrew the mounting screws or retaining nut, carefully lower the fixture, and disconnect the wires by removing the wire connectors. Take note of how everything was wired before you disconnect it, especially if the room has multiple switches.
Step 3: Check and Upgrade the Electrical Box
This is one of the most important—and most overlooked—steps. Ceiling fans are significantly heavier than light fixtures and require a fan-rated electrical box, usually marked with an inscription confirming it’s rated for fan support. If your existing box isn’t rated for a fan, replace it with one, and add a fan brace between the ceiling joists to support the added weight and vibration.
Step 4: Determine Downrod Length (or Go Flush Mount)
Most fans ship with a short downrod sized for standard 8-foot ceilings. If your ceiling is lower than 8 feet, remove the downrod and mount the fan flush to the ceiling instead (“hugger” style). For higher or sloped ceilings, you may need a longer downrod—manufacturers typically provide a chart matching blade diameter and ceiling slope to the correct downrod length.
Step 5: Assemble the Fan
Following the manufacturer’s instructions, attach the mounting bracket to the electrical box, then assemble the motor housing, downrod (if used), and blades. Many newer “quick-install” fans use snap-together parts that simplify this step significantly.
Step 6: Wire the Fan
Match the wires by color:
- Black to black (hot)
- White to white (neutral)
- Green or bare copper to the ground wire
Secure each connection with a wire nut, tuck the wires neatly into the electrical box (keeping black wires separated from white and green/ground), and wrap the connectors with electrical tape to prevent them from loosening from vibration over time.
If the room doesn’t have a dedicated wall switch for the fan, you can wire it to operate solely off the pull chains—in that case, choosing a fan with a remote control is a convenient add-on so you’re not reaching up to adjust it every time.
Step 7: Mount the Fan and Attach the Canopy
Lift the assembled fan and hook it onto the mounting bracket, securing it with the provided screws. Make sure it’s firmly attached and balanced before letting go. Slide the canopy up to cover the electrical box and wiring, and secure it in place.
Step 8: Attach the Blades and Light Kit
If the blades weren’t pre-attached, screw them onto the motor arms now, making sure each one is fully tightened to prevent wobbling. If your fan includes a light kit, attach it according to the manufacturer’s instructions and install the bulbs.
Step 9: Restore Power and Test
Turn the power back on at the breaker and test the fan at each speed setting, along with the light kit if applicable. Check for wobbling, unusual noise, or loose connections in the canopy. A small amount of wobble can often be fixed with a balancing kit or by re-tightening the blade screws.
Pros of Installing a Ceiling Fan Yourself (DIY)
- Lower cost—you save on professional labor fees, which can be a meaningful chunk of the total project cost.
- Flexible timing—you can do it on your own schedule rather than booking a contractor visit.
- Straightforward for standard setups—replacing an existing fixture with a fan, where the wiring and box are already fan-rated, is a manageable project for a confident DIYer.
- Energy and comfort payoff—once installed, a ceiling fan can reduce reliance on air conditioning and heating, lowering monthly utility costs.
- Widely available guidance—major retailers and manufacturers provide detailed installation instructions and videos for most fan models.
Cons of Installing a Ceiling Fan Yourself (DIY)
- Electrical risk—working with household wiring carries real safety risk if not done correctly; improper wiring can cause shock or fire hazards.
- Structural requirements—if your existing electrical box isn’t fan-rated, you’ll need to install a new box and support brace, which adds complexity (and may require attic or ceiling access).
- Physical demands—fans are heavy and often need to be held in place overhead while wiring and mounting, which is easier with a second person.
- Code and permit considerations—depending on your municipality, certain electrical work may require a permit or licensed electrician, especially if you’re adding new wiring rather than replacing an existing fixture.
- Mistakes can be costly—a poorly balanced or improperly wired fan can lead to wobbling, noise, or the need for a professional to fix the installation afterward.
When to Call a Professional
If your room doesn’t already have a ceiling electrical box, if the wiring looks outdated or in poor condition, or if you’re simply not comfortable working with electrical connections, it’s worth hiring a licensed electrician. This is especially true for higher ceilings, vaulted ceilings requiring custom downrods, or any installation involving new circuit wiring.
Travis dry –
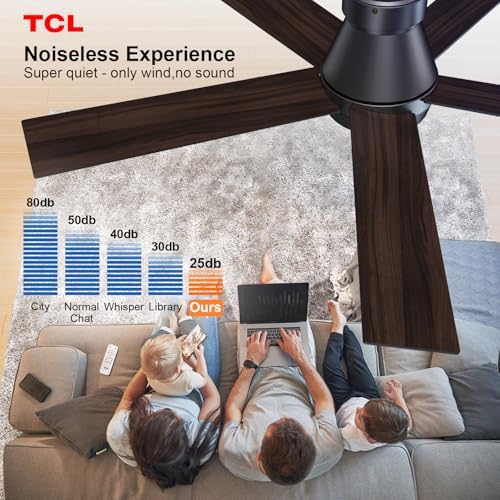
So quiet a librarian wouldn’t dare shoosh it !
Had this fan almost a month . It is SOOOOO QUIET! Our last fan started making noise that would keep me up . This fan is so quiet that we can hear everything going on outside if we sleep with the windows open. The fan has many different speeds and the only sound you will hear is wind noise. The light is nice with a few different settings. I have installed many ceiling fans over the years and this was one of the easiest. Very smart design that makes instalation easy , fan blades could be installed with one hand very nice. As far as the instructions go , pretty easy to understand but could be a little clearer on wiring, color instruction on wiring would be nice , plus a better diagram on were the remote sensor goes . At first it doesn’t look like it fits inside the fan housing but it does. Took i little bit to get used to not turning off the wall switch as all of the fan works from the remote, no pull cords.Had to let go of decades of traditional fan operations but very happy with it.Would like a second remote for it so I’m not sure they offer one. Will have to contact manufacturer directly. All and all great fan , very happy. Amazed how quiet it is.
5 people found this helpful
PaulC –
Great nice quality fan – for a bedroom
Very pleased with the fan. Assembly was very easy to do. It replaced a newish Hampton B** fan that gave out. I noticed the old fan was much bulkier and heavier. I like how slim this fan is. This fan moves much more air and mounts closer to the ceiling which I like. It operates quietly. It has great speed and lighting options. The remote is great too, not as bulky and it mounts very simply to the wall. I have it mounted onto the wall plate.
2 people found this helpful
Ronnie –
Great Ceiling Fans – Perfect for Rentals or Your Own Home!
I bought three of these ceiling fans—one for each bedroom (I have two) and one for the dining room—and I’m very happy with the purchase. They’ve been working flawlessly so far.One thing I really appreciated is that each fan came with its own frequency, so there’s no interference or cross-traffic when using the remotes. I can turn one on or off without affecting the others, which is a big plus.Installation was straightforward, and the kit came with extra hardware, including one or two additional bolts of each type, which is great in case you drop or misplace something. It also includes extra parts for different installation scenarios.I used these in a rental property and couldn’t be more pleased. They look good, work great, and run quietly. I’d definitely recommend them to others looking for reliable ceiling fans at a fair price.
9 people found this helpful
Dewayne BuckmanDewayne Buckman –
Great value for great fan.
Great fans. Instructions were a bit goofy, but you work through it, and not a bad DIY installation at all. I bought two. They’re quiet and really pump the air on high speed, although one fan makes a ticking noise on speeds 5 and 6 –– could need a blade balance. Haven’t tried that yet, but I really don’t notice the tick too much. The fans were a hit with family and friends. Look great, work great. The LED lighting is awesome. So far so good; hope they hold up over time.
4 people found this helpful
Jordan Lynch –
Good fan, okay light, sleek design, remote beeps
Good fan, good windspeed, quiet, enjoy the natural wind mode. It beeps when you click the remotes which is okay. Good light mode. Not too bright but it gets the job done. Pretty easy install just have to get the communication box tucked in there without pinching the antenna wires. More modern and don’t have to duck or watch out for the pull cords. Came with a remote holder but I used Velcro to avoid making more holes.
3 people found this helpful
SGSG –
Great ceiling fan at a great price! get one b4 they’re gone!
When this arrived, we thought no way is a ceiling fan in that small of a box that was so light weight. but it was. 52″ fits great in the room! Excellent packaging! Easy install. Sleek design. Whisper quiet. Lots of light settings. Easy to change air flow direction via remote. This is a really nice fan and at a good price point. I have hunter fans and harbor breeze fans – imo, this is superior to both of those brands.
5 people found this helpful
Derek Lai –
Modern design, love the remote and easy to install
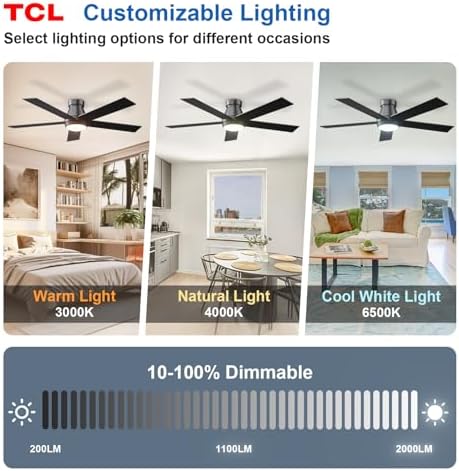
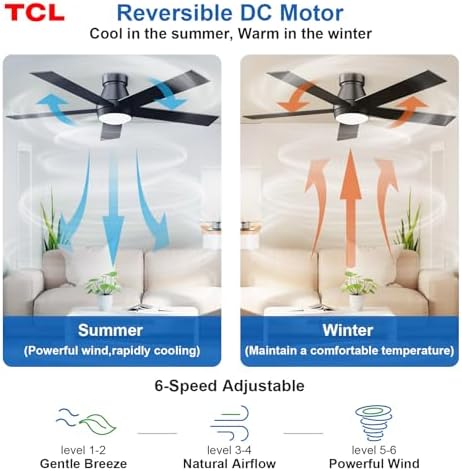
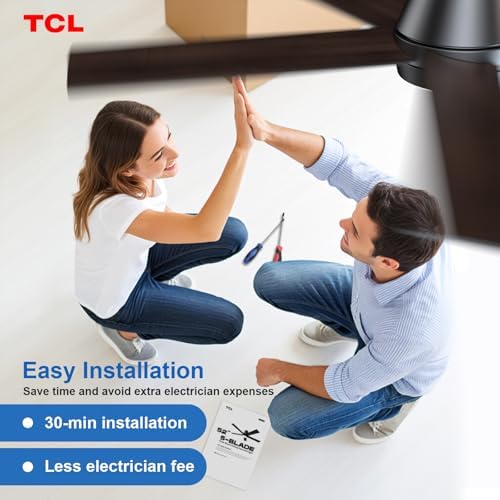
The design of this fan is very modern, I have this set up in the living room. The LED lights are awesome can switch from Warm to Cool lights and very bright that light up the whole living room (It is dimmable, which is a plus!)The fan is great size not too big nor small, it blows pretty strong wind that is great for having that in the living room, and have 6 different speeds to choose from.The install is very straight forward, not too many pieces which I like to make the assemble very easy, as well I assume the motor isn’t too heavy (it is much lighter than my old ceiling fan) to make the install much easier, and done in around two hours since I was doing it on my own, if someone is install the fan with you, shoud be done in a hour more less.
7 people found this helpful
memasefni –
Quick installation, whisper quiet
True rating: 4.5*The light is inadequate. It’s nice, but it won’t reach the corners of a small bedroom, leaving shadows. Our previous fan allowed for the light and fan to be wired separately, meaning we could control each by a wall switch. This fan does not, so we control it entirely with the remote and leave the one wall switch in the “on” position.
Drew Dienhart –
Easy install!
This fan is great! Best thing about it is that it has a little hook to make wiring a breeze! This can definitely be put up easily by one person.
Mike C. –
Great fan!
Awesome fan! Easy to set up and install. Remote is great. Happy I bought this one.